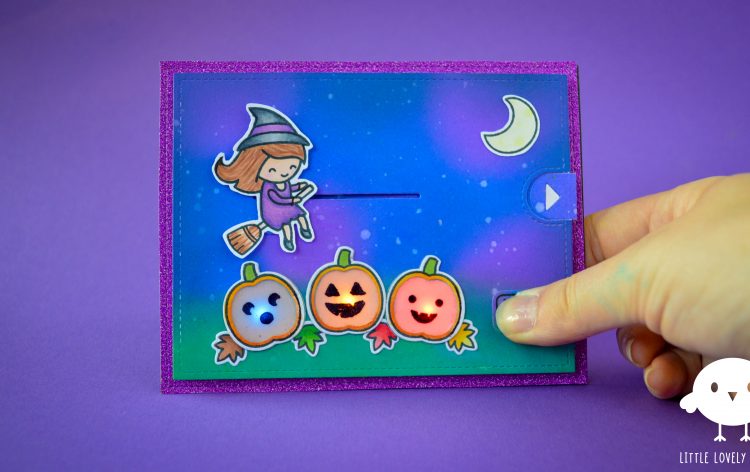
When I read that the new Lawn Fawnatics challenge was about making an interactive card, I had this idea at night to incorporate two interactive things: LED stickers and a pull tab.
In the video I posted on Instagram you can see how the card works. You can watch it here as well. Scroll down if you want to know how I did it.
Materials used:
- Lawn Fawn: ‘bicycle built for you’ stamps and dies (girl)
- Lawn Fawn: ‘pick of the patch’ stamps and dies (pumpkins)
- Lawn Fawn: ‘jump for joy’ stamps and dies (leaves)
- Lawn Fawn: ‘spooktacular’ stamps (moon)
- Lawn Fawn: ‘costume party’ stamps and dies (witch and broom)
- Lawn Fawn & Chibitronics: ‘charge me up’ (push here button)
- Lawn Fawn: ‘outside in stitched square stackables’ dies
- Lawn Fawn: ‘reveal wheel pick of the patch add-on’ dies
- Lawn Fawn: ‘let’s toast pull tab add-on’ dies
- Memento Tuxedo Black ink
- White cardstock for front panel
- Purple glitter paper
- Black paper for card base
- Copic Sketch Markers
- Foam tape
- Acetate (to put behind pumpkins)
- Wow! embossing pad: clear ultra slow drying
- Wow! embossing powder ‘opaque bright white’ super fine and black
- 3V battery
- Copper tape
- LED circuit stickers in yellow, red and blue
- Orange craft foam

I started by figuring out where I wanted the pumpkin lights and the pull tab witch to go, without them touching each other. I had already die cut the pumpkins, so I could see how much space they needed. After using the regular die cut, I used the reveal wheel add-on dies to cut the center out of the pumpkins. I traced them onto the paper. After that I used copper tape to create a circuit for the lights. As soon as you press the flap, the battery charges the lights (I added some extra copper tape on top of the blue light (on the left), because that one didn’t light up as bright. The extra tape fixed the problem).
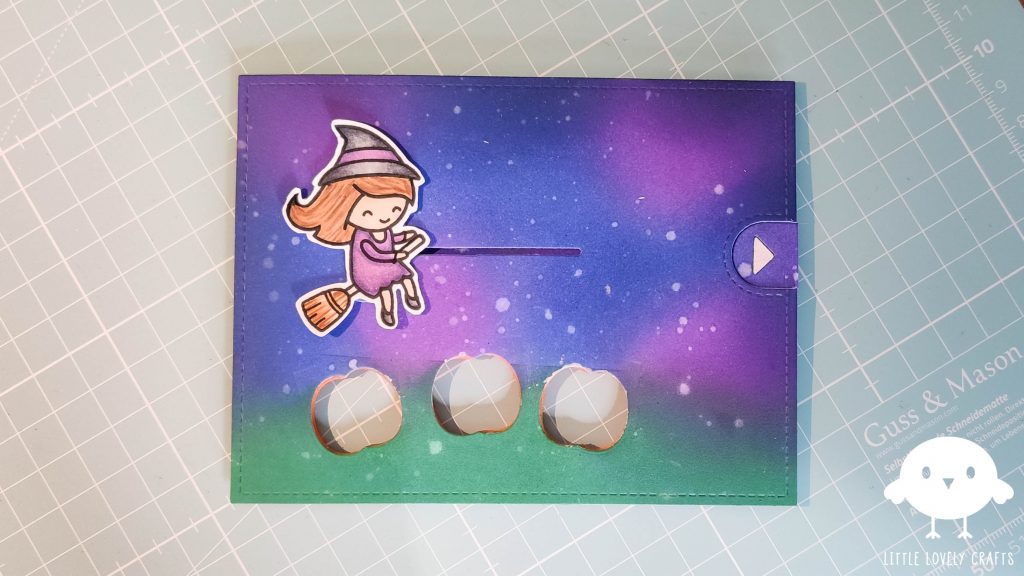
I placed another piece of white card stock on top of the LED circuit and put it against a window to trace where the lights were. I used the pumpkin edges to figure out where I needed to die cut the holes exactly with the reveal wheel add-on.
With Distress Oxide Ink I created the background for this card. I used the pull tab dies to get all the necessary pieces and die cut an extra long path for the witch.
The witch was made using three stamps and some masking paper and I colored everything with copic sketch markers. I actually forgot to put on some white gel pen accents, but you could always do that if you like.

I die cut six pumpkin edges out of some orange craft foam using the pick of the patch reveal wheel add-on. This will make sure the light shines nicely inside the pumpkin, instead of all over the back of the card. I used two edges of foam behind each pumpkin, so the card would be high enough to not push on the battery.
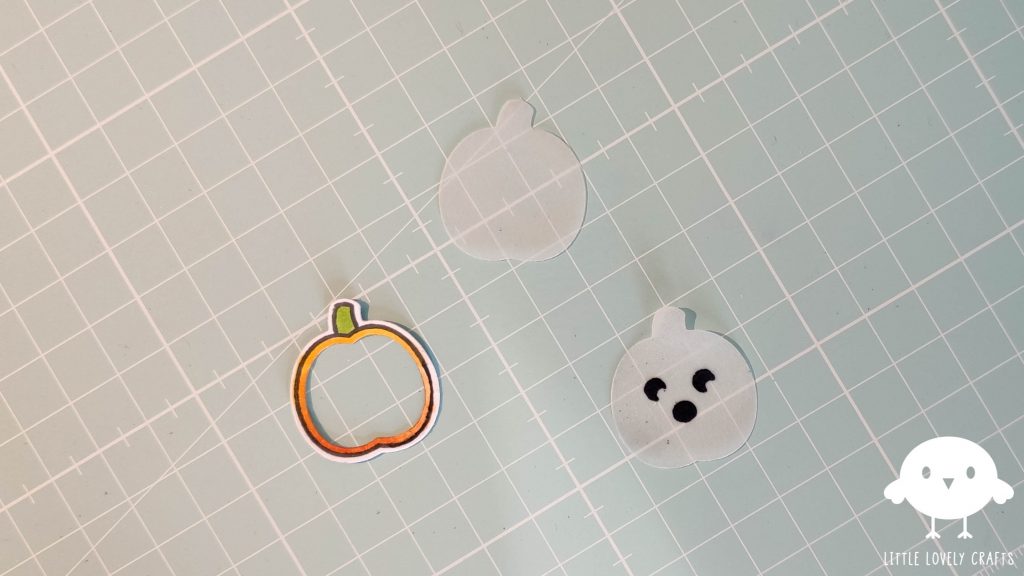
Now it is time to make the pumpkins. For this you’ll need three pumpkin edges, six vellum pumpkins (using the original die from the pick of the patch set), pumpkin faces from that stamp set, embossing powder (I used black powder), clear ink and a heat tool. You can glue the edge on the vellum pumpkin with a face. The empty vellum pumpkin will be the bottom layer, making sure you don’t see the copper tape and LED sticker underneath the pumpkin.
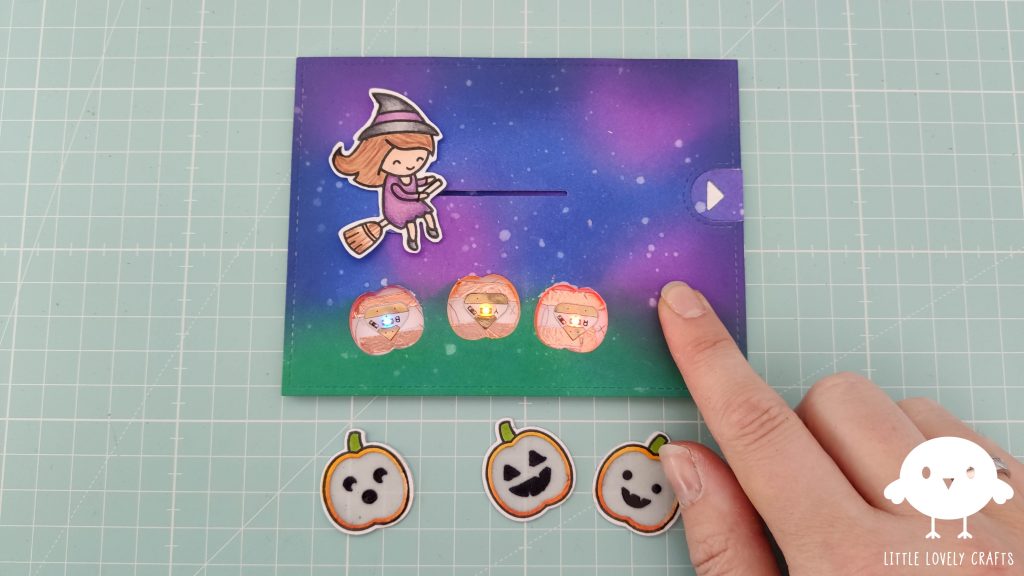
You can attach the front panel onto the circuit panel and try out the lights and pull tab. Now you are ready to glue the pumpkins in place.
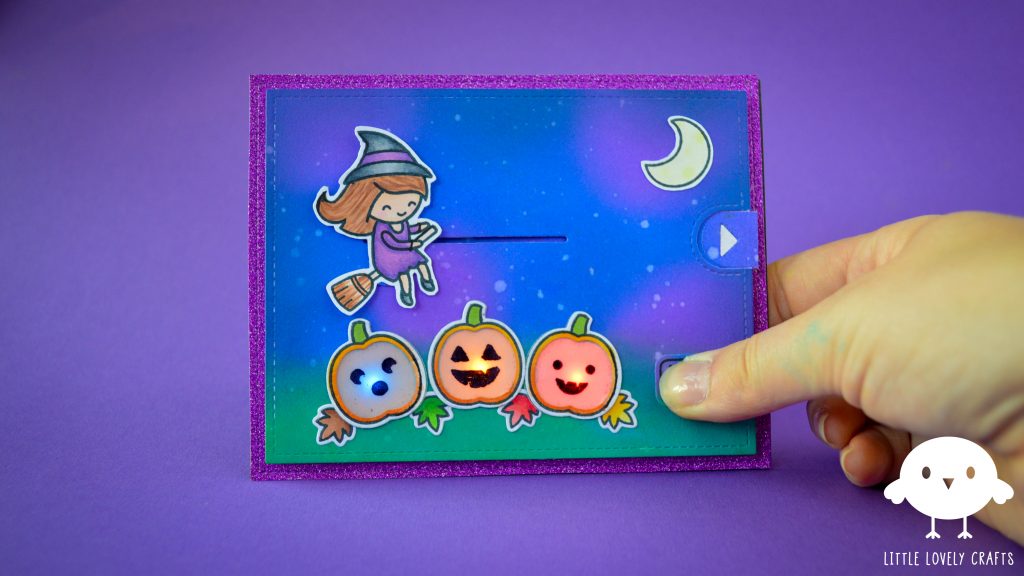
Everything is working fine, except for the blue light. As I mentioned earlier I fixed that by adding some extra copper tape on top of the sticker. You can go ahead and attach the panel to some glittery paper of your choice and glue the entire panel to a card base.
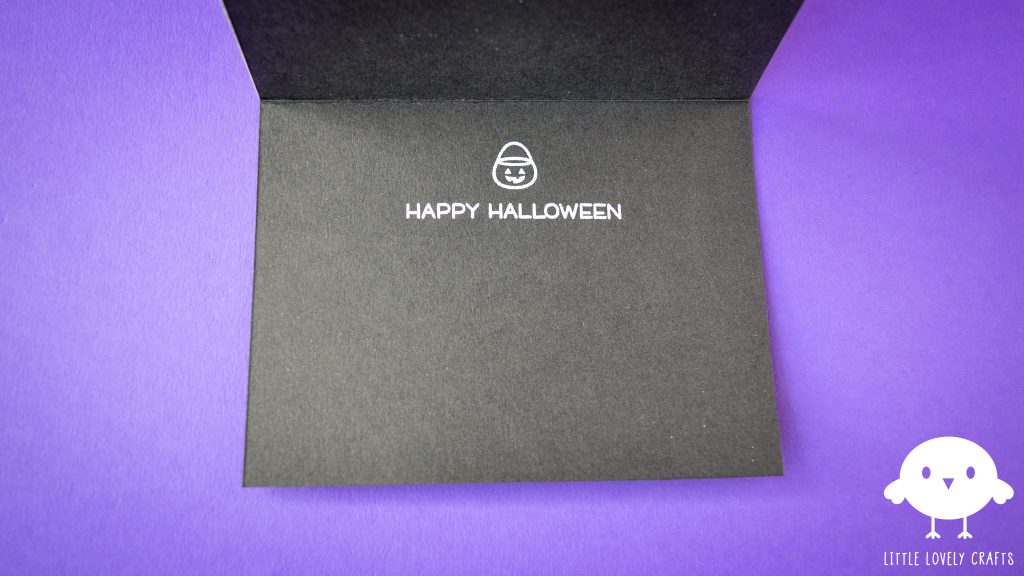
Stamp a cute sentiment with some clear ink and use embossing powder to really make that sentiment pop and you’re done! I hope this was helpful!