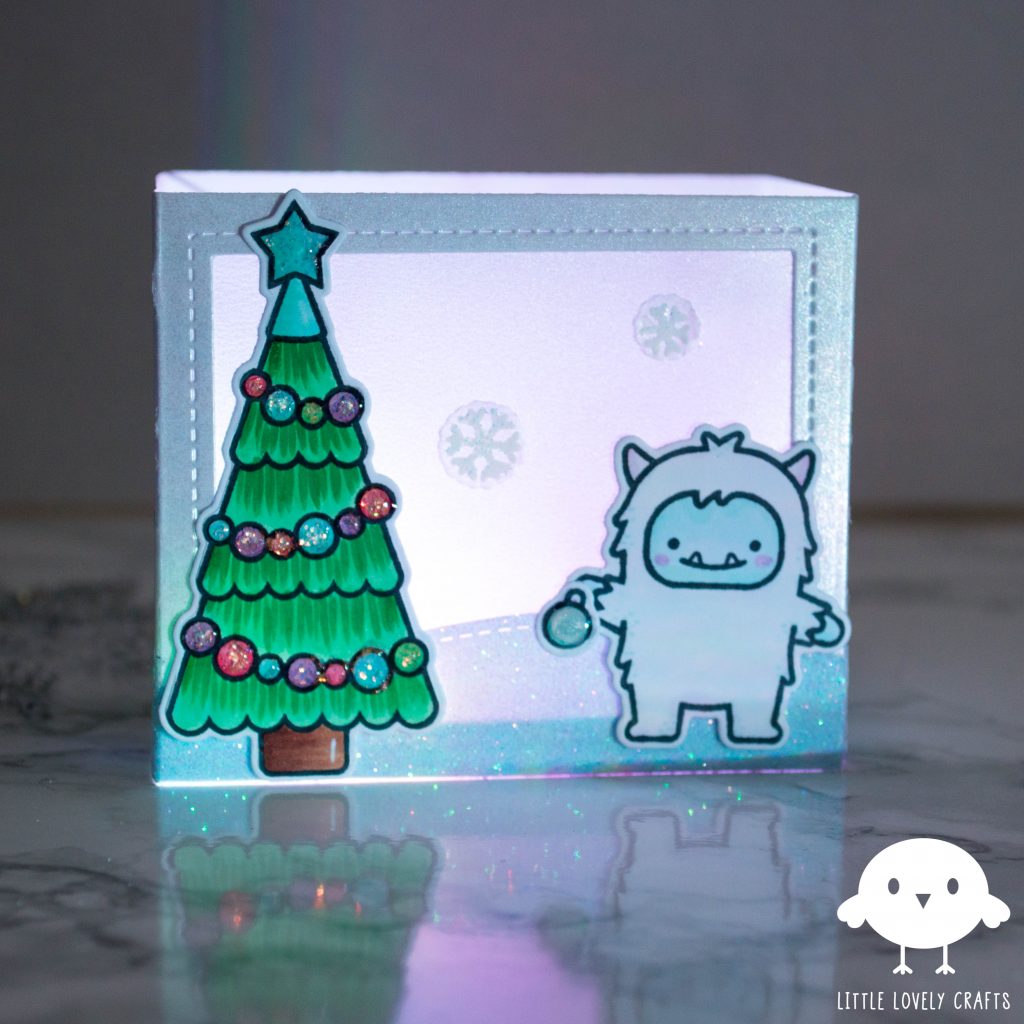
My husband finished a LED dimmer for me this week. My shadow box cards fit perfectly on lop of the lights. That way I can leave it on night after night and don’t have to replace multiple batteries. During the fall and winter months I can put a nice card on display in our living room. It works with open cards, but with a closed card like this it gives a whole new look.
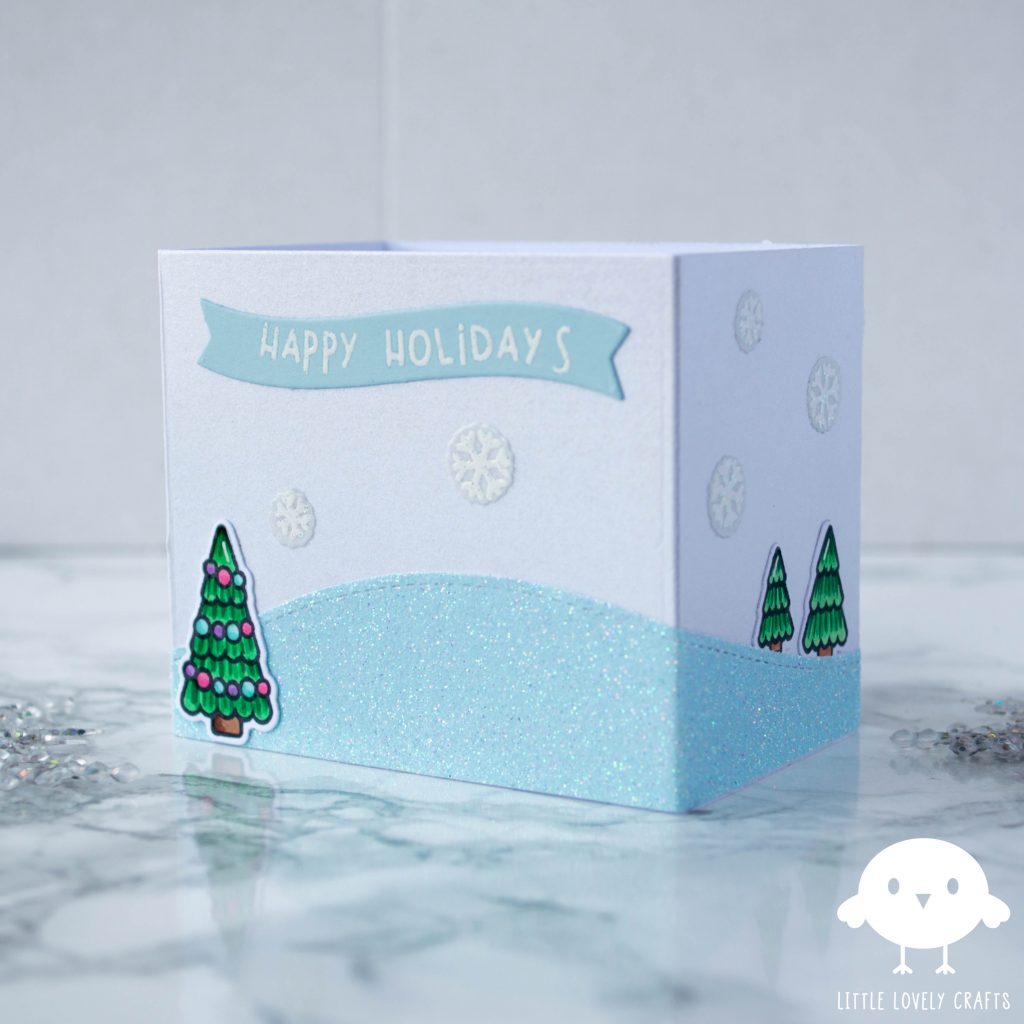
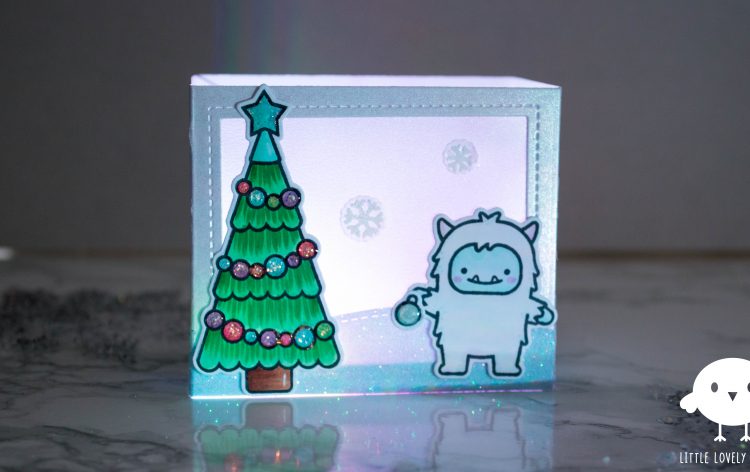
I used the new Lawn Fawn pearlescent vellum to close the box. I stamped the snow flakes on some of that vellum as well. With clear ink and white embossing powder they really pop.
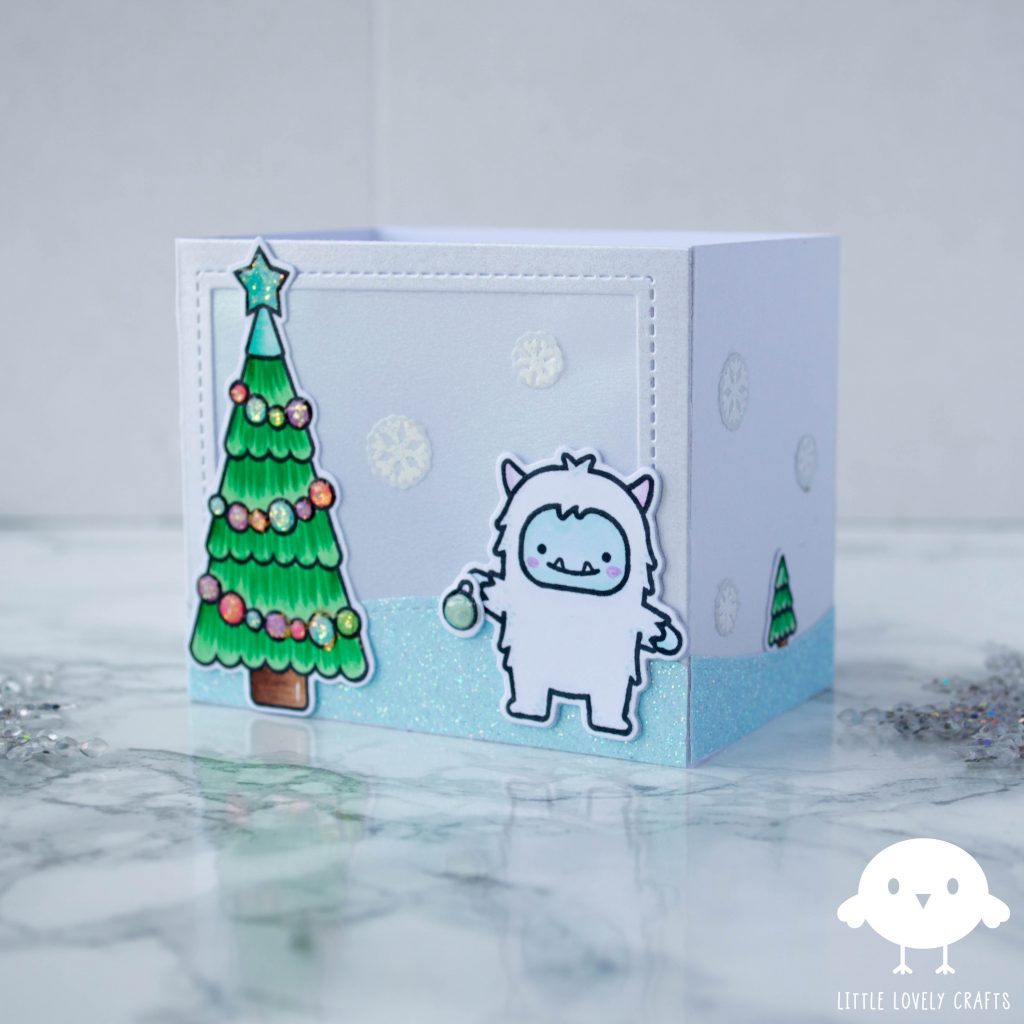
The Yeti Or Not stamps and dies were used to decorate the rest of the box. The big tree is from Christmas Dreams. I put stickles on all of the ornaments in the big Christmas tree. When that was dry I applied glossy accents, to make it feel more smooth. I put it on all of my Christmas cards these days. With the ornament that the yeti is holding I used the Lawn Fawn liquid stardust. I topped it off with glossy accents, so it wouldn’t smudge.
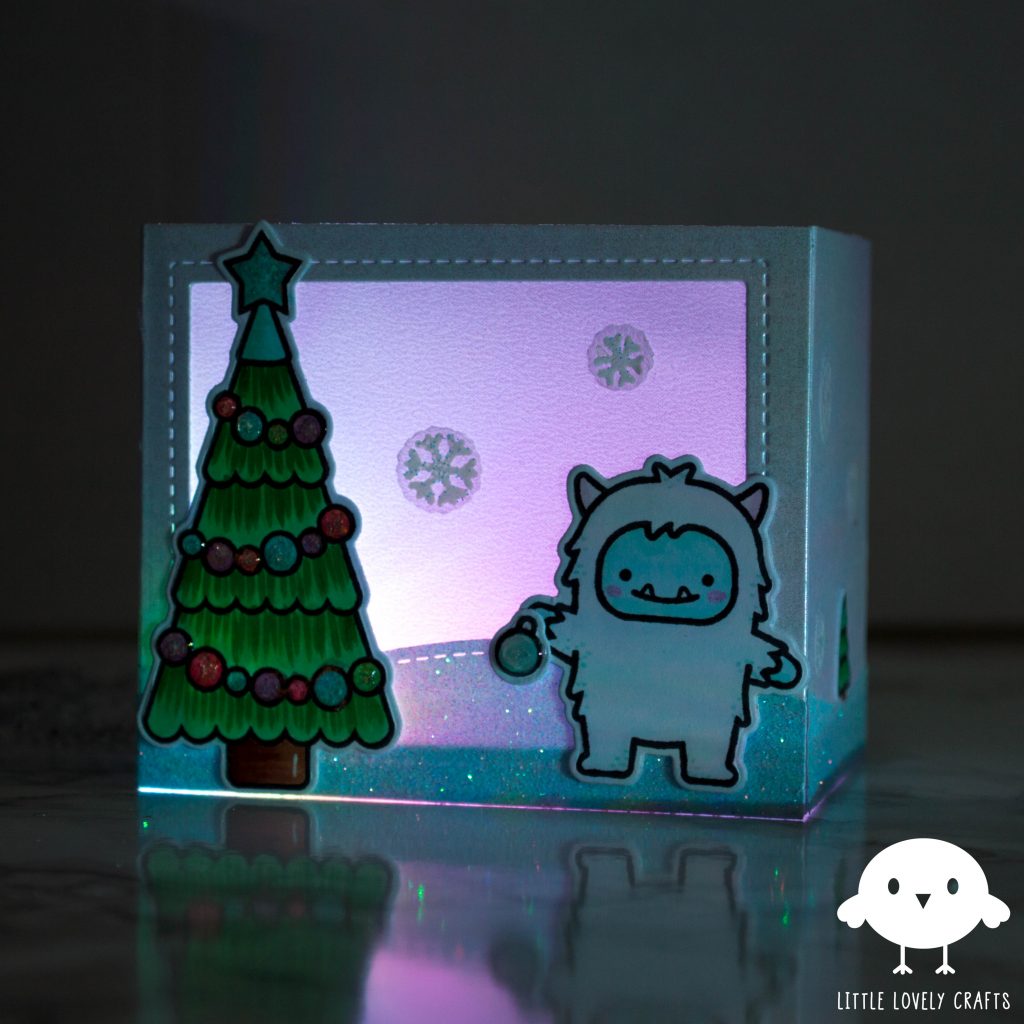
After putting everything together all you need to do is insert some lights inside and you have a really cool shadow box card. The pearlescent vellum sky looks really pretty with the lights on behind it.
Materials used:
– Lawn Fawn Yeti Or Not stamps and dies
– Lawn Fawn Simple wavy banners dies
– Lawn Fawn Stitched hillside borders
– Lawn Fawn Shadow Box Card
– Lawn Fawn liquid stardust
– Lawn Fawn pearlescent vellum
– Memento Tuxedo Black ink
– Wow! embossing pad: clear ultra slow drying
– Wow! embossing powder opaque bright white super fine
– Wow! embossing powder wanderlust
– Powder tool
– White shimmer cardstock for base
– Blue glitter paper for snowy hills
– White glitter cardstock for snow on mountains and hill
– Light blue cardstock for banner
– Copic Sketch Markers
– Copic multi liner pigment ink 0.3
– Sakura Gelly Roll white gel pen
– Nuvo Aqua Shimmer Glitter Gloss
– Ranger glossy accents
– Ranger stickles star dust
– Tape runner
– Liquid glue